

DMG LCD install guide
With all the parts available, assembly has commenced on the DMG front PCB+LCD kits. Here's a quick guide to installing this kit in your DMG.
You will need to strip down your DMG so you can work with your front case half.
I used a set of verniers to mark a 3.5mm border around the existing window. You can use whatever you have available, sharpie and a ruler, blade etc...

This will be a guide for when you enlarge the window. I used a CNC router to give a straighter edge. In future I will generate a Gcode file to automate this and give a neater edge. You can use a rotary tool, knife, file etc... Edit: Use a metal file for straight edges!

On the back side you will need to remove the upper two support posts, and the ring around the LED hole. Make these as flush with the surrounding case as you can.
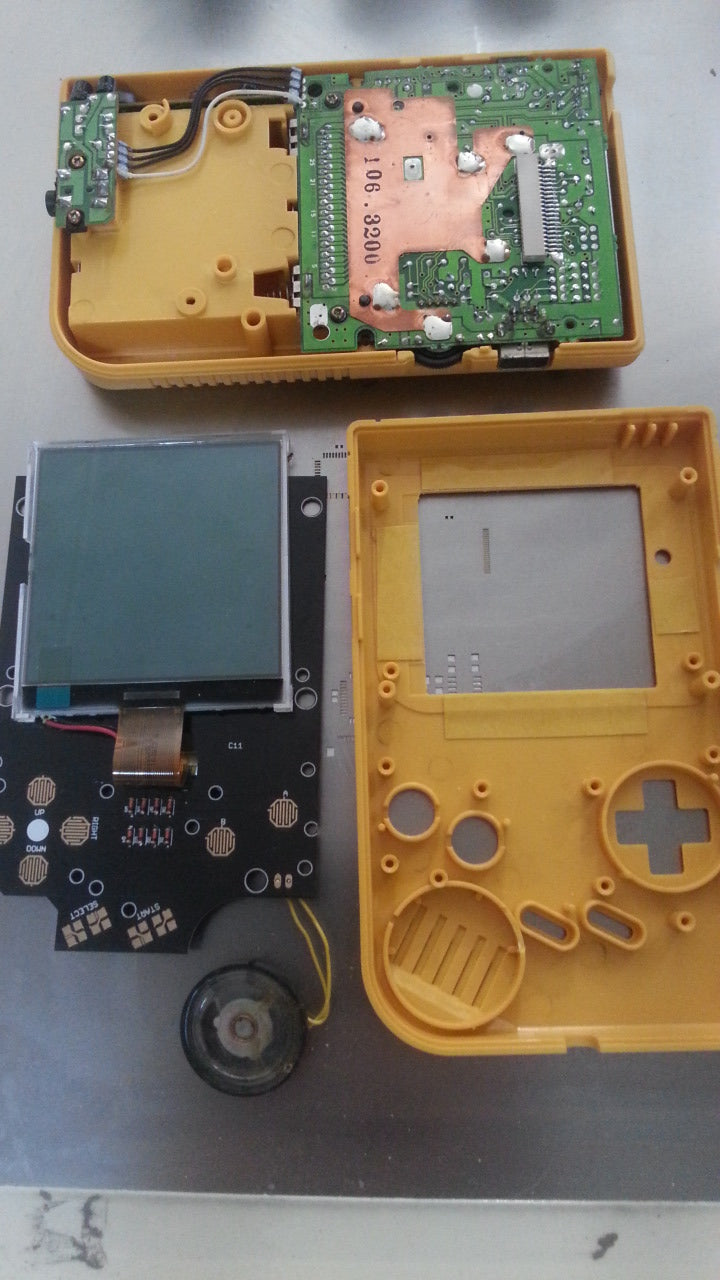
 These are the main parts of the Kit, Only the LCD and PCB is included. You will need to re-use your old buttons/speaker/screws. The LCD will arrive lightly taped to the PCB. You will need to center your LCD in the newly cut front case. This is how you do it...
Plug the ribbon into your mainboard and turn the gameboy on. It is best to use a game with a full border for precise location. I used Pokemon as it was on my desk.

Notice the double sided tape I stuck on the inside of the front case half. Gently lift the LCD while on and place it against the tape as center as you can. Before you do this, remove the LCD protective film. Take care in handling the screen once you remove this as fingerprints are tricky to remove and annoying to look at while playing.

Once you are happy with the location, place the front PCB in the case, install the speaker and the buttons/membranes and screw down any holes with the white ring around them. I suggest you don't use the remaining two screw holes as the screws will push through the front case into the screen protector.

If all went well, you should have a bright new LCD in your DMG, nice and centre. You can now install your Kitsch-Bent glass screen protector to keep fingerprints off the LCD.

Each LCD is paired to the PCB. The firmware is modified to generate the optimum contrast for each LCD. For this reason, every LCD and PCB is thoroughly tested and will arrive in working order.
Ribbon cables are delicate, please be careful!
You can also cut a piece of cellophane to place on the back side of the LED hole to colour the white light that shines through.